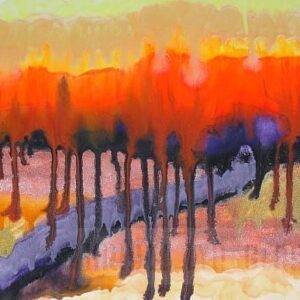
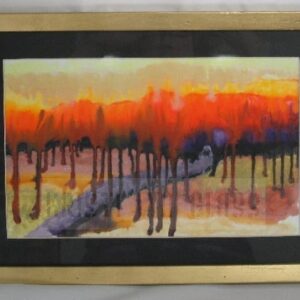
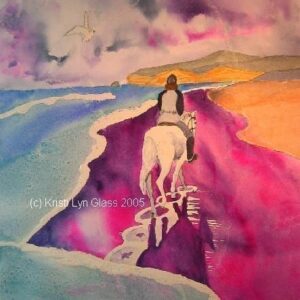
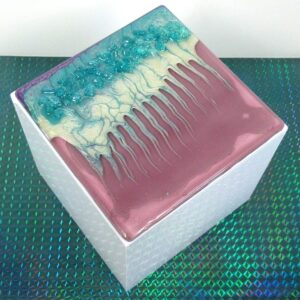
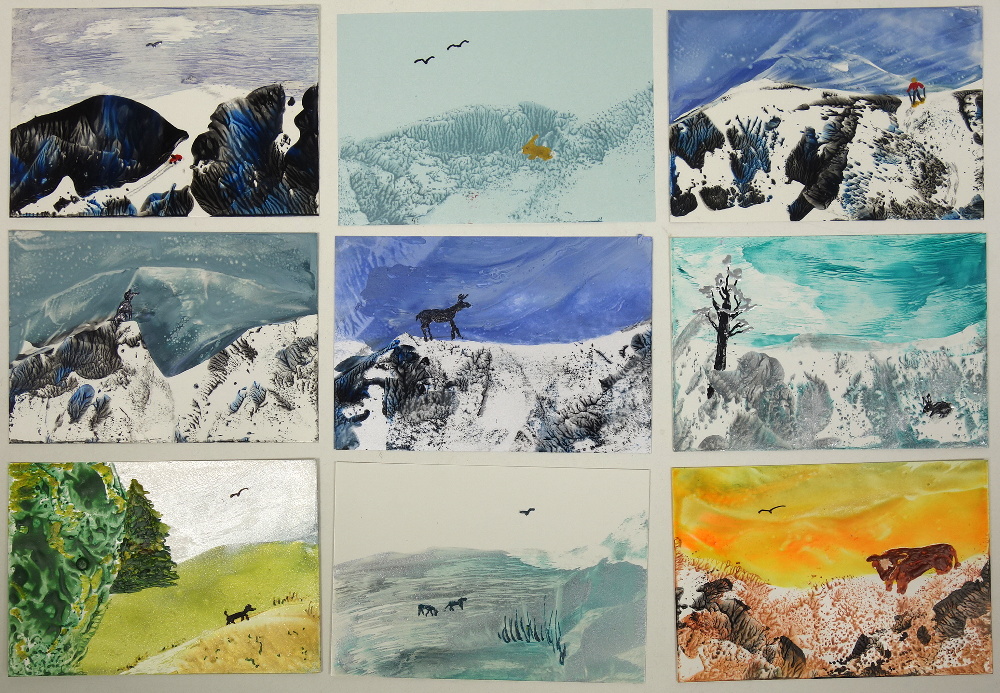
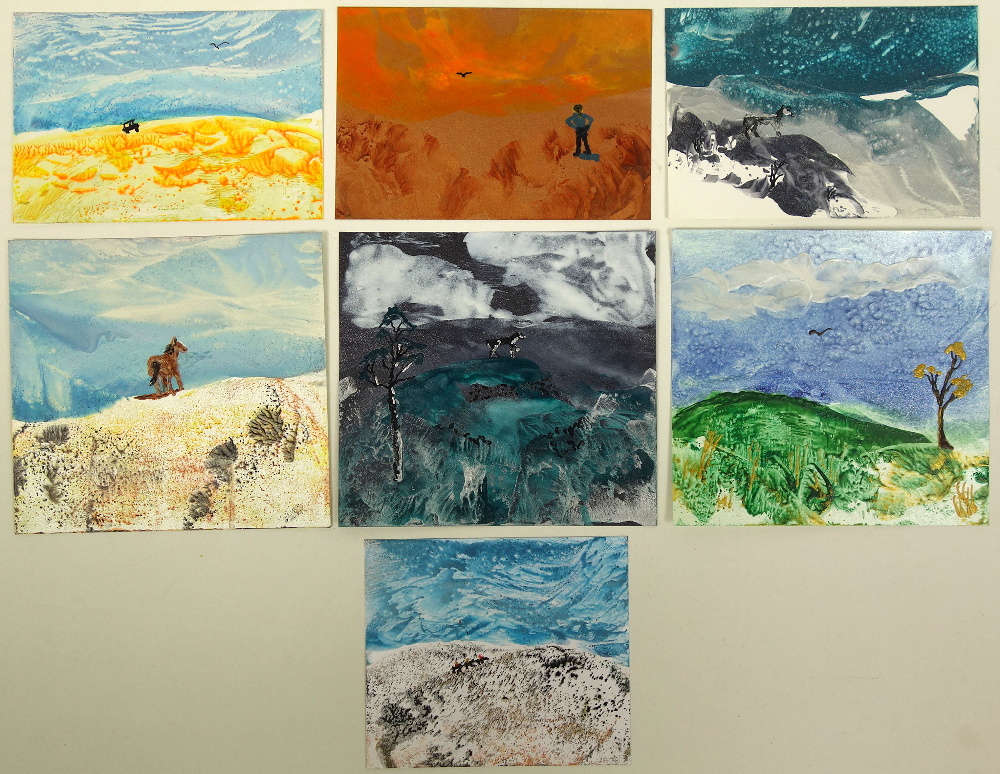
I recently spent a fun few days making lots of small encaustic (melted wax) paintings suitable for use on note cards. Some of the results are shown above.
Melted Wax Work Setup
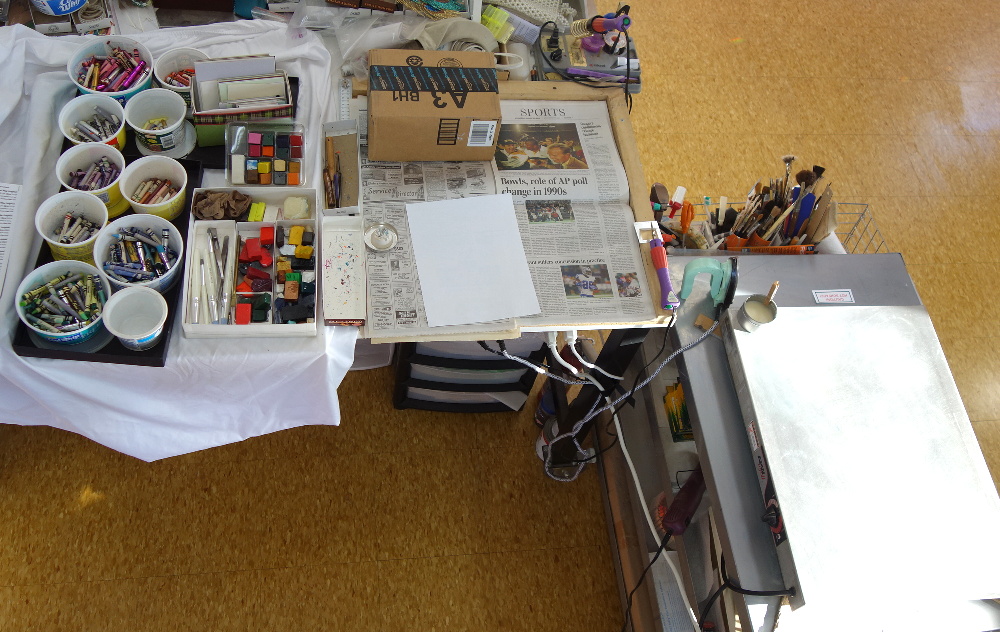
Once I get my encaustic tools and supplies set up in my studio, they lure me to play and create art. Here’s a view of my setup from above. The bench heights allow me to work comfortably standing up.
My crayons and encaustic waxes are arranged on the left, along with various hand tools and a box in the back containing small pieces of various coated papers. The lids for the wax containers are stored under them. The round tin on the newspaper contains slick-wax I use to clean my hot wax stylus. I use the empty long box to the left of the newspapered area to park the waxes I’m currently using so they are easy to find.
I tear newspapers at their vertical fold and stack them side by side on a heat-proof wooden work surface. As they become wax-covered, I tear off the waxed sections and save them to use as fire-starters in our wood stove. This process reveals the fresh sheets below. I sometimes use the brown box to hold down the top edge of the coated paper I’m waxing so I can curve the paper to produce various effects with the hot wax iron.
My wax tools include:
- A purple- and red-handled hot wax stylus (sitting on its metal stand to the right of the newspapers)
- A second purple- and red-handled hot was tool with a heated paddle (in the heat-adjustable gray solder-tool holder at the top right of the newspapered area)
- A hot wax iron with a pale green handle (on the metal cart)
- A large metal warming tray (on the metal cart with a wood clothes pinned round tin of slick wax on it)
- A maroon-handled heat gun (on the shelf below the warming tray)
- Various scrapers, tweezers, and metal styluses
- A box of Kleenex for cleaning wax off my tools and surfaces (not shown)
- A wastebasket for discarded paper and Kleenex (not shown)
All my electric tools plug into the outlets on the fronts of my metal work bench and cart. I can turn them all off/on using the one switch on the work bench, so I don’t need to adjust the temperatures on individual tools when I start work. I just flip the switch, wait a few minutes for the tools to heat up, and then start playing with them and my wax.
When I’m done playing, the single switch turns all the electrical tools off. I then put the lids back on my wax bins, stow the rest of the items on the shelves below my warming tray, and roll the metal cart backwards to line up with the end of my work table. I can then use my work bench for other projects, such as my glass cutting work.
Creation Process
The coated papers I use come in a variety of colors, weights, and metallic shades that I may incorporate into the subject matter. Inexpensive coated paper scrap assortments from paper manufacturers are perfect for this purpose, as they are already cut to various small sizes.
I typically start off by melting various wax colors on the upturned surface of my hot wax iron. Then I flip the iron over and smear the wax onto the coated paper I’m using for the creation. Various dabbing and smearing techniques achieve potentially interesting results. Controlling the wax is a vain pursuit. Happy accidents abound!
I transfer any leftover wax on the iron onto a second or third piece of paper so I do not waste wax. This lures me into turning those pieces of paper into even more works of art. Adding more wax to those pieces with my iron leads to transferring excess wax to additional pieces of paper, thus creating more and more works of art. Once I get going, it’s very hard to stop without completing each work, as my personality type seeks closure on projects. This process thus becomes quite fascinating and rewarding.
The wax smears harden right away, providing another reward: instant gratification. I study each piece to determine what I can add to make sense of it. It is like seeking pictures in clouds. Some pieces also have several potential “right sides up,” so I must pick the view I like best.
I then use my hot wax stylus to add details and figures to the scene. Adding trees, animals, people, vehicles, and/or birds gives viewers an entry point for understanding my vision of what would otherwise be a very abstract painting. It’s difficult to add very fine details or correct mistakes, so I have to boldly proceed and hope for the best. Sometimes I can use a scraper or fine-pointed awl to lift excess wax or create useful negative space to enhance a design. If I totally botch up some details, I can reheat the area using the paddle tool or swipe a hot iron over it to erase the detail entirely so I can start over.
When I finish a creation, I wad up an old nylon knee-high stocking and rub it over the entire piece to bring it to a lovely shine. The waxed surface is quite stable and feels interesting to one’s finger tips.
Using Other Wax Tools
I use the hot wax paddle to transfer wax to small areas that I may have missed with the iron. Holding the paddle on the back side of the paper will also melt and redistribute the wax on its front side.
Holding a piece of paper on my heated warming tray allows the wax to melt and spread around on the paper’s surface. I can either leave it as is or embellish it using the paddle tool and/or hot wax stylus. Another technique is to hold the waxed paper vertically with a tweezers while blowing hot air over it with the hot air gun, creating new designs and/or drip effects.
Making Small Creations Useful
Working with a hot wax iron on large supports is difficult, because it may require more wax to cover an area than the iron can hold. I have therefore found it more satisfying and fun to keep my melted wax creations small. My perfect paper size is 4″ x 6″, as it fits nicely on the embossed note card supports I use.
I can frame other sizes as originals or photograph and enlarge them to create prints.
Once I start creating small melted wax paintings, I usually produce a plethora of pretty pictures. Those that I cannot mount on note cards, I give to studio visitors or guests to take home as a memento of their exposure to my melted wax works. Putting adhesive labels on the backs of these giveaways containing my web address and copyright notice turns these little treasures into effective publicity tools.
The batch of creations shown in this post are mostly for sale as note cards at the Northeastern Nevada Museum‘s gift shop in Elko, Nevada, along with some of my other creations.
Please post your questions as comments on this blog post, and I’ll be happy to answer them!
